
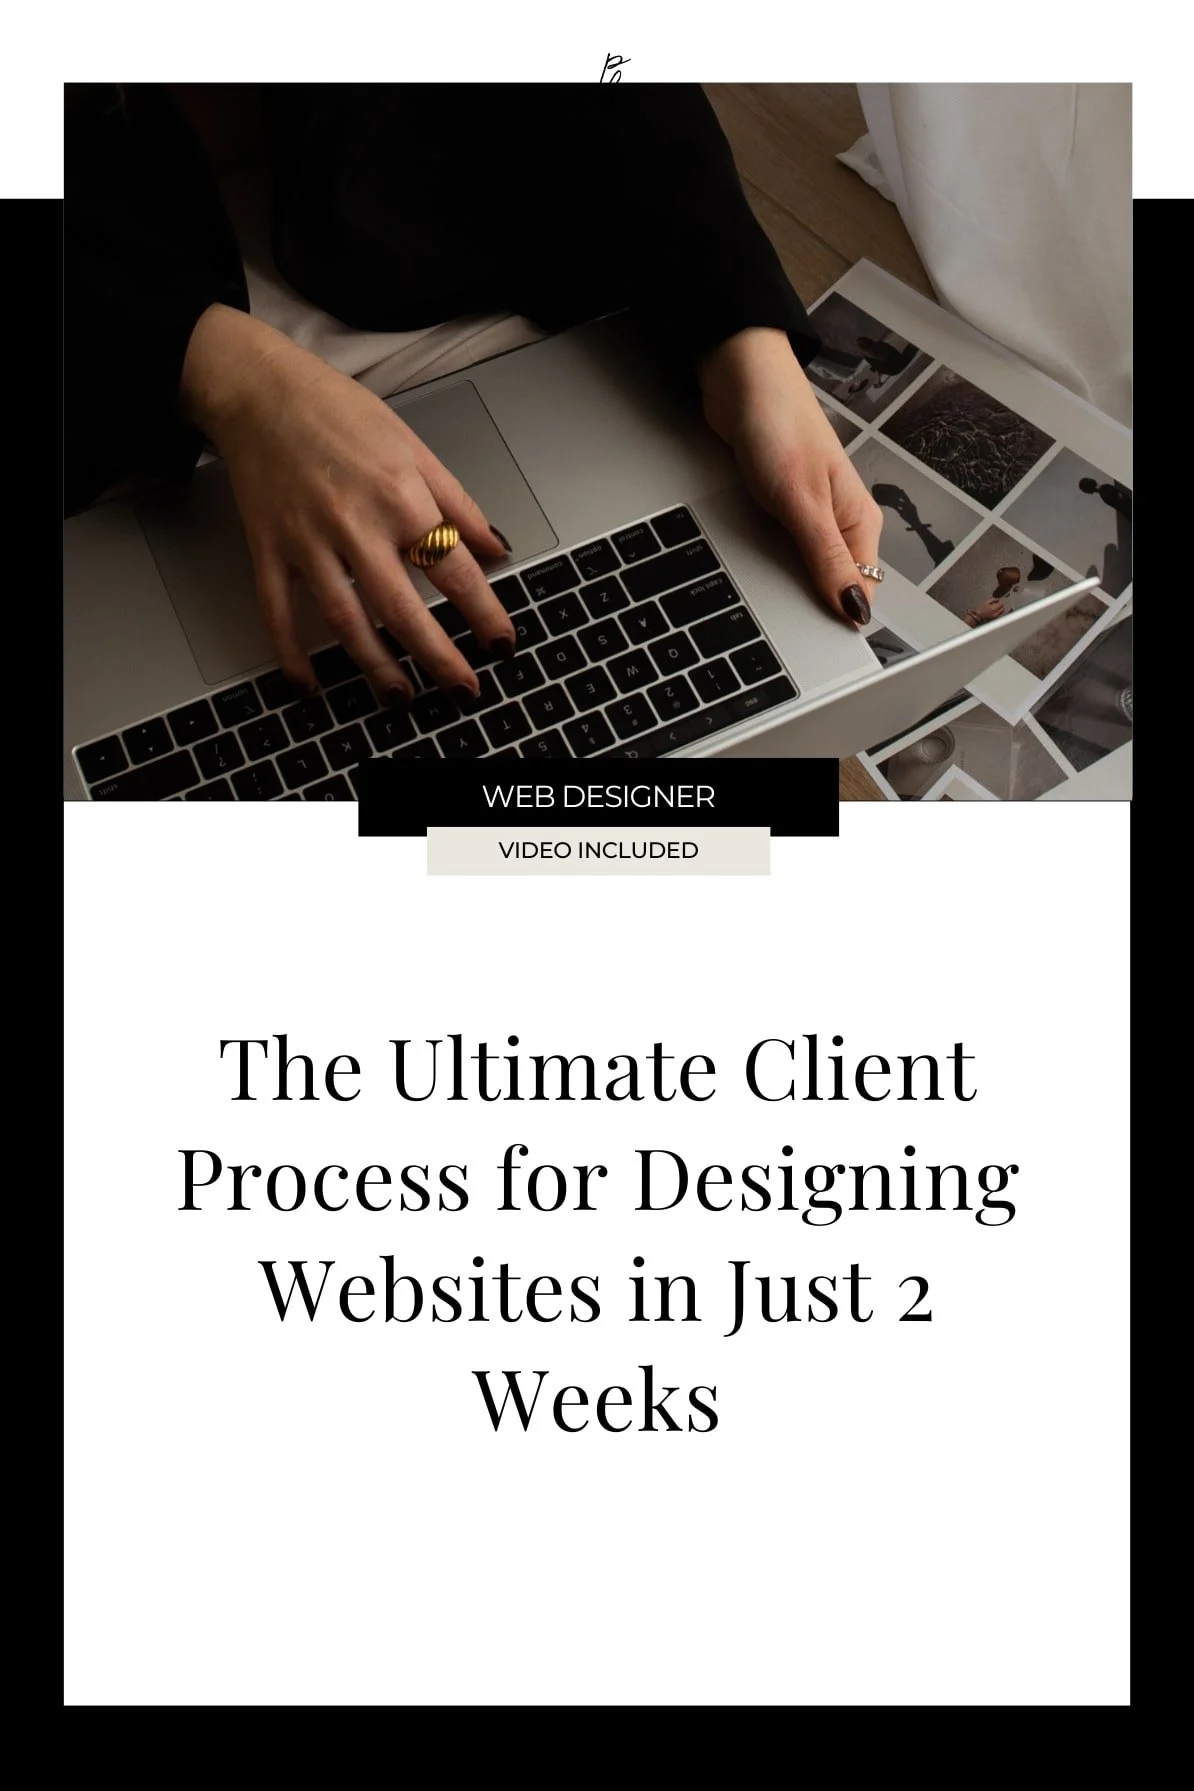
The Ultimate Client Process for Designing Websites in Just 2 Weeks
Prefer to watch?
Here’s the video!
Mentioned in the Video:
*Yup - that’s an affiliate link! My margarita fund thanks you kindly!
Rather read all about it?
Imagine a web design process that’s as streamlined and intentional as the life you’ve created.
In this blog, I’m sharing my system for delivering stunning client websites in just two weeks, allowing you the freedom to balance your creative passion with the lifestyle you love.
This is my go-to step-by-step process for building beautiful websites without compromising on quality or client satisfaction.
I’ve used this time and time again when working with my clients and it’s proven to be a simple and efficient workflow for guaranteeing that I get projects done on time.
Warning: this is a lot of information at once so do yourself a favor and grab my PDF version of this list here for future reference. 👇

Phase 1: Client Inquiry to Booking

Client Inquiry
The very first step that happens is a potential client fills out an inquiry form on my website, sharing their interest in working together. As soon as they submit the form, they’re redirected to a page where they can book a consultation call at a time that suits them and fits my timeslots.
Consultation Call
On the booked date, we meet on Zoom to discuss their project. This call is all about getting to know their needs, discussing my availability, and confirming a design start date that works for both of us.
Contract & Invoice
Once they’ve picked their preferred date, I send over a contract and an invoice through my CRM system, (I' love Honeybook). I have templates set up for this, so it takes all of two seconds to input their details and send everything off.
Change availability on website
On the consultation call, I always make sure to underline the fact that the client’s chosen date is NOT officially reserved until the contract and invoice have been squared away.
(so basically if someone else beats them to it, they’ll have to choose a different date.)
This pretty much guarantees that the clients get me that contract signed and pay the invoice ASAP in order to secure their favorite date.
Once the date has been reserved, I make sure to block it off on my website calendar so that it’s clear to other potential clients that these dates are not available.
Create Google Drive folder & Google Doc
I always create a folder where the client can put all of their site content so it’s easy to access and all in one place.
Send welcome package & Google Drive link
After they sign the contract and pay the first invoice, Honeybook automatically sends them my Welcome Package.
It includes everything they need to know to prepare for their design date, including client homework and submission deadlines.
Client Gift
Now we get to the fun part- picking out a client gift.
What I send depends on a few factors: what gifting companies operate in their country, their personal preferences/taste and the value of the package they booked.

Psst…you may have noticed there’s no mention of proposals in any of these steps…
That’s because I’m not a fan of them! When you have clear offerings, packages, and prices, there’s no need to spend time fiddling around with proposals.
Phase 2: Prepping for Project Start
With the project booked, it’s time to ensure everything is ready to go before the design work begins.
Follow-Up (1 week prior to design start)
About a week before the project starts, I send a friendly reminder to make sure the client has completed their homework and remind them of the due dates.
This is usually automated through Honeybook, but a simple email works just as well if you’re not using a CRM.
Schedule a call
I also send a link to schedule the pre-design call for the first day of the design period.
Host Pre-design Consult Call
On this call, we’ll review their content, go over any remaining questions, and do a pretty in-depth walkthrough of their inspiration websites.
We also discuss where their domain name is, their options for moving or linking it, and how that may affect their launch date.
Phase 3: Design Week One
As I mentioned, I complete all of my website projects in a two week period so phase 3 covers the first week of the project.

Create Mood Board & Color Palette
On day 1, start by creating a mood board and color palette. This ensures we’re on the same page style-wise before diving into the full site design.
Send Mood Board & Color Palette to Client for Review
I send everything to the client for review, and we make any necessary tweaks based on their feedback.
For this step, I request their feedback within 24 hours.
If the client says it’s perfect then I move on but usually this process takes 1-2 feedback rounds to get it right.
I basically just try to implement their feedback as quickly as possible and then send it back to the client for the next round of review.
It is so important to get this step right becasue it assures that I do not design an entire website only to then find out that the client is not happy with its style.
Start Site Design
With the mood board approved, we’re ready to go!
I start by designing the homepage. I always start here because it sets the tone for the rest of the site.
As I go, I save design elements I love to speed up the process for the subsequent pages.
After building out the homepage, I go over to other pages on the site - saved section layouts from the homepage are a huge timesaver here.
I might also start to move the client’s domain during this week depending on their situation and how complex the move is.
Client Review
By the end of week one, I send the completed website over for the client’s initial review (along with guidelines on how they should give their feedback).
I remind them that they have until Monday morning 10 AM to submit their list of edits and revisions.
Then I’m off to enjoying my weekend! ✌️😎

Phase 4: Design Week Two

Implementing Feedback
On Monday, I review the client’s edits and make the necessary changes, usually just working my way down the list.
I make sure to complete revisions within 24 hours and send the updated website back to the client.
My client get as many edit rounds as their heart desires BUT I make clear to them that we only have till the end of the week to tweak the site.
So although the client has as long as they’d like to get back to me with more edits, they’re usually pretty good about getting back to me quickly given that I’ve informed them (and reminded them multiple times by this point ) that we only have unitil the end of the week for revisions.
This is so key in making sure that the project stays on track!
Adding Functionality
in the remaining part of week 2, I link up any external software or integrations they need, like email marketing systems or appointment booking tools.
I also finalize any button links or form connections that were left incomplete during the design phase.
SEO & Launch Prep
I ensure all SEO settings are optimized, including URL slugs and page descriptions.
I also always go over my handy site launch checklist to make sure nothing has been forgotten and that everything is perfect before the big day.
Lesson & Launch Call:
Before the website goes live, I host a “lesson & launch” call with the client.
I walk them through the backend of their site, showing them how to make updates themselves. This empowers them to manage their site without ongoing costs, which they love!
It’s also a huge plus for me because my past clients being self sufficient means I can focus all my energy on attending to my current clients.
Website Launch
At the end of the call, we choose the right hosting plan, link up their domain, and set the website live!
Phase 5: Post-Launch Follow Up

The next workday, I send over any final design files and ask if they have any lingering questions.
And Voilà! That’s it—a complete website delivered in just two weeks!
It’s beautiful, it’s simple, and my clients love the individualized attention & quick turnaround time.
Now knowing a client process is one thing but…
What if a client is late on delivering their content?
Or they’re crowdsourcing edits from family and friends, throwing off the schedule?
No worries, I’ve got a solution for that too!
I host a free event once or twice a year to help with these challenges and more and it’s happening very soon!
We’re just putting the finishing touches on the reigstration page so while I can’t share all the details just yet, download the client process template below to join my email list, and you’ll be the first to know when the sign up doors open!